Step by step TestCafe installation and reporting with Allure
1. Create a project folder named as TestCafe_Demo
2. Open cmd inside the project folder and hit this command:
npm install --save-dev testcafe
3. Now create package.json. Hit this comment:
npm init -y
4. Now open this project by visual studio code. Type this command:
code .
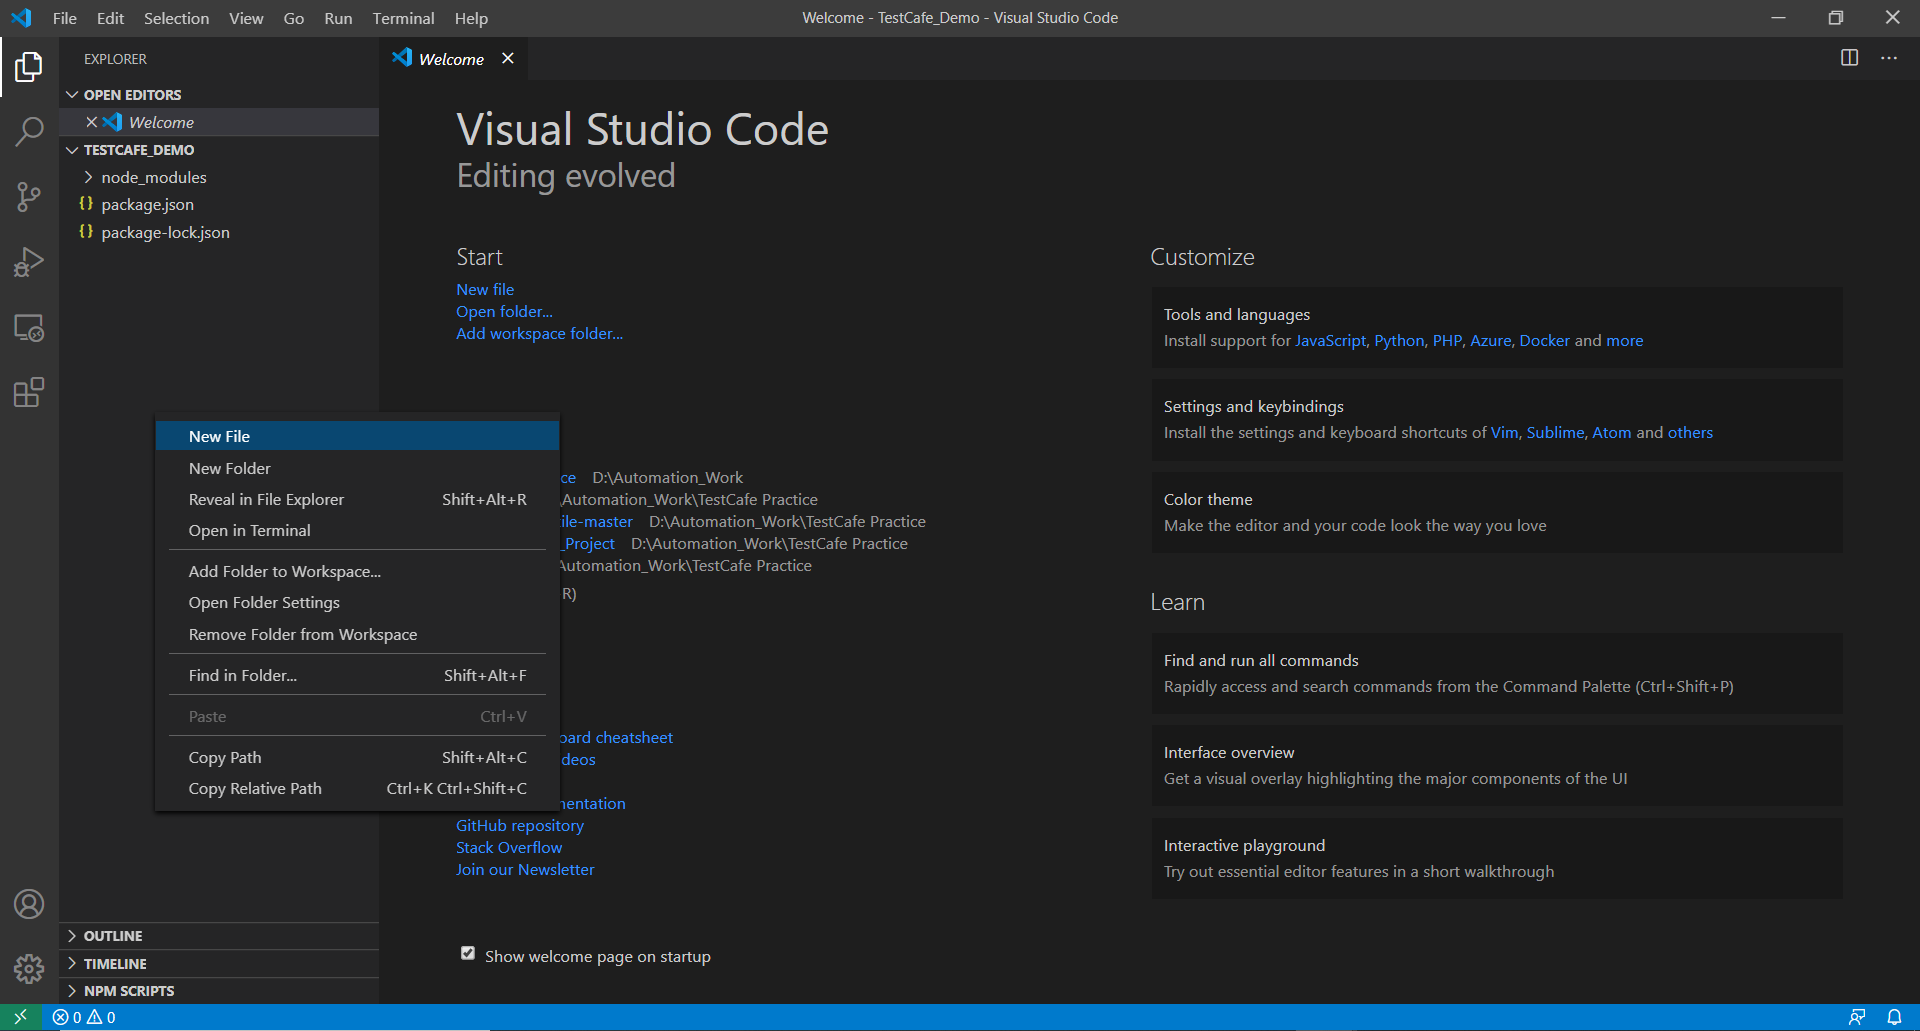
5. Your project will look alike:

6. Now create a new file on the project root folder named as test.js
7. Let, we will automate a scenario:
- Navigate to this url: http://devexpress.github.io/testcafe/example
- Check website title is ok
- Check website content is ok
- Maximize the browser window
- Type name to the textbox
- Wait for 3 second
8. Type following code into the test.js file:
npx testcafe chrome test.js
11. Testcafe will start chrome browser and start for automation.

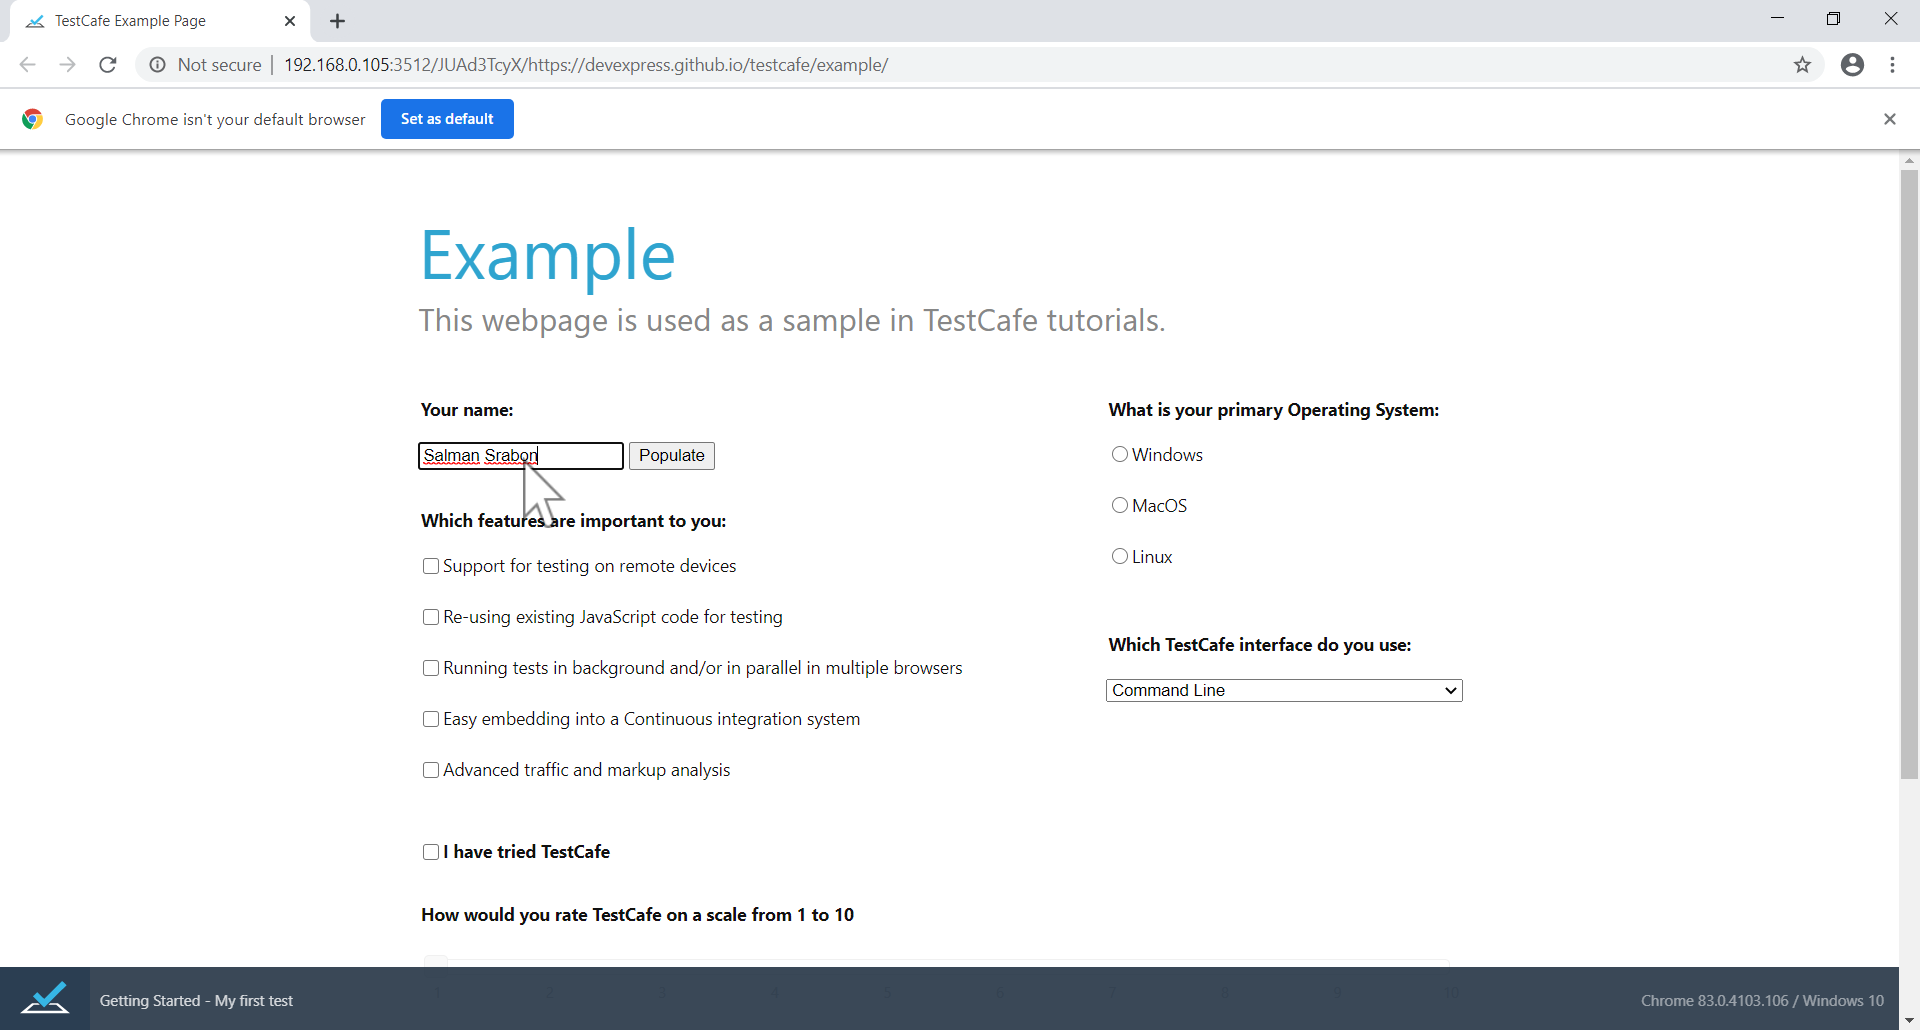
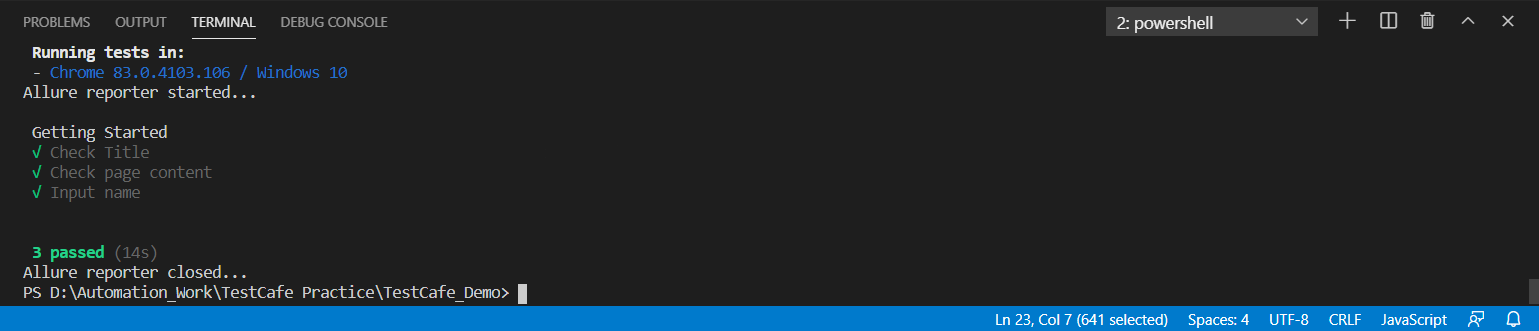
12. After automatically typing your name, the browser gets closed and testing result shows on the command line.

13. Now install allure report plugin to export allure report.
npm install testcafe-reporter-allure
npm install -g allure-commandline --save-dev
14. Now type this command to start the test with allure:
npx testcafe chrome test.js --reporter spec,allure
15. A folder will created in root project named allure.
Now generate allure report. Hit this command:
npx allure generate allure/allure-results --clean -o allure/allure-report
npx allure open allure/allure-report
16. Allure result will shown on browser:

Comments
Post a Comment